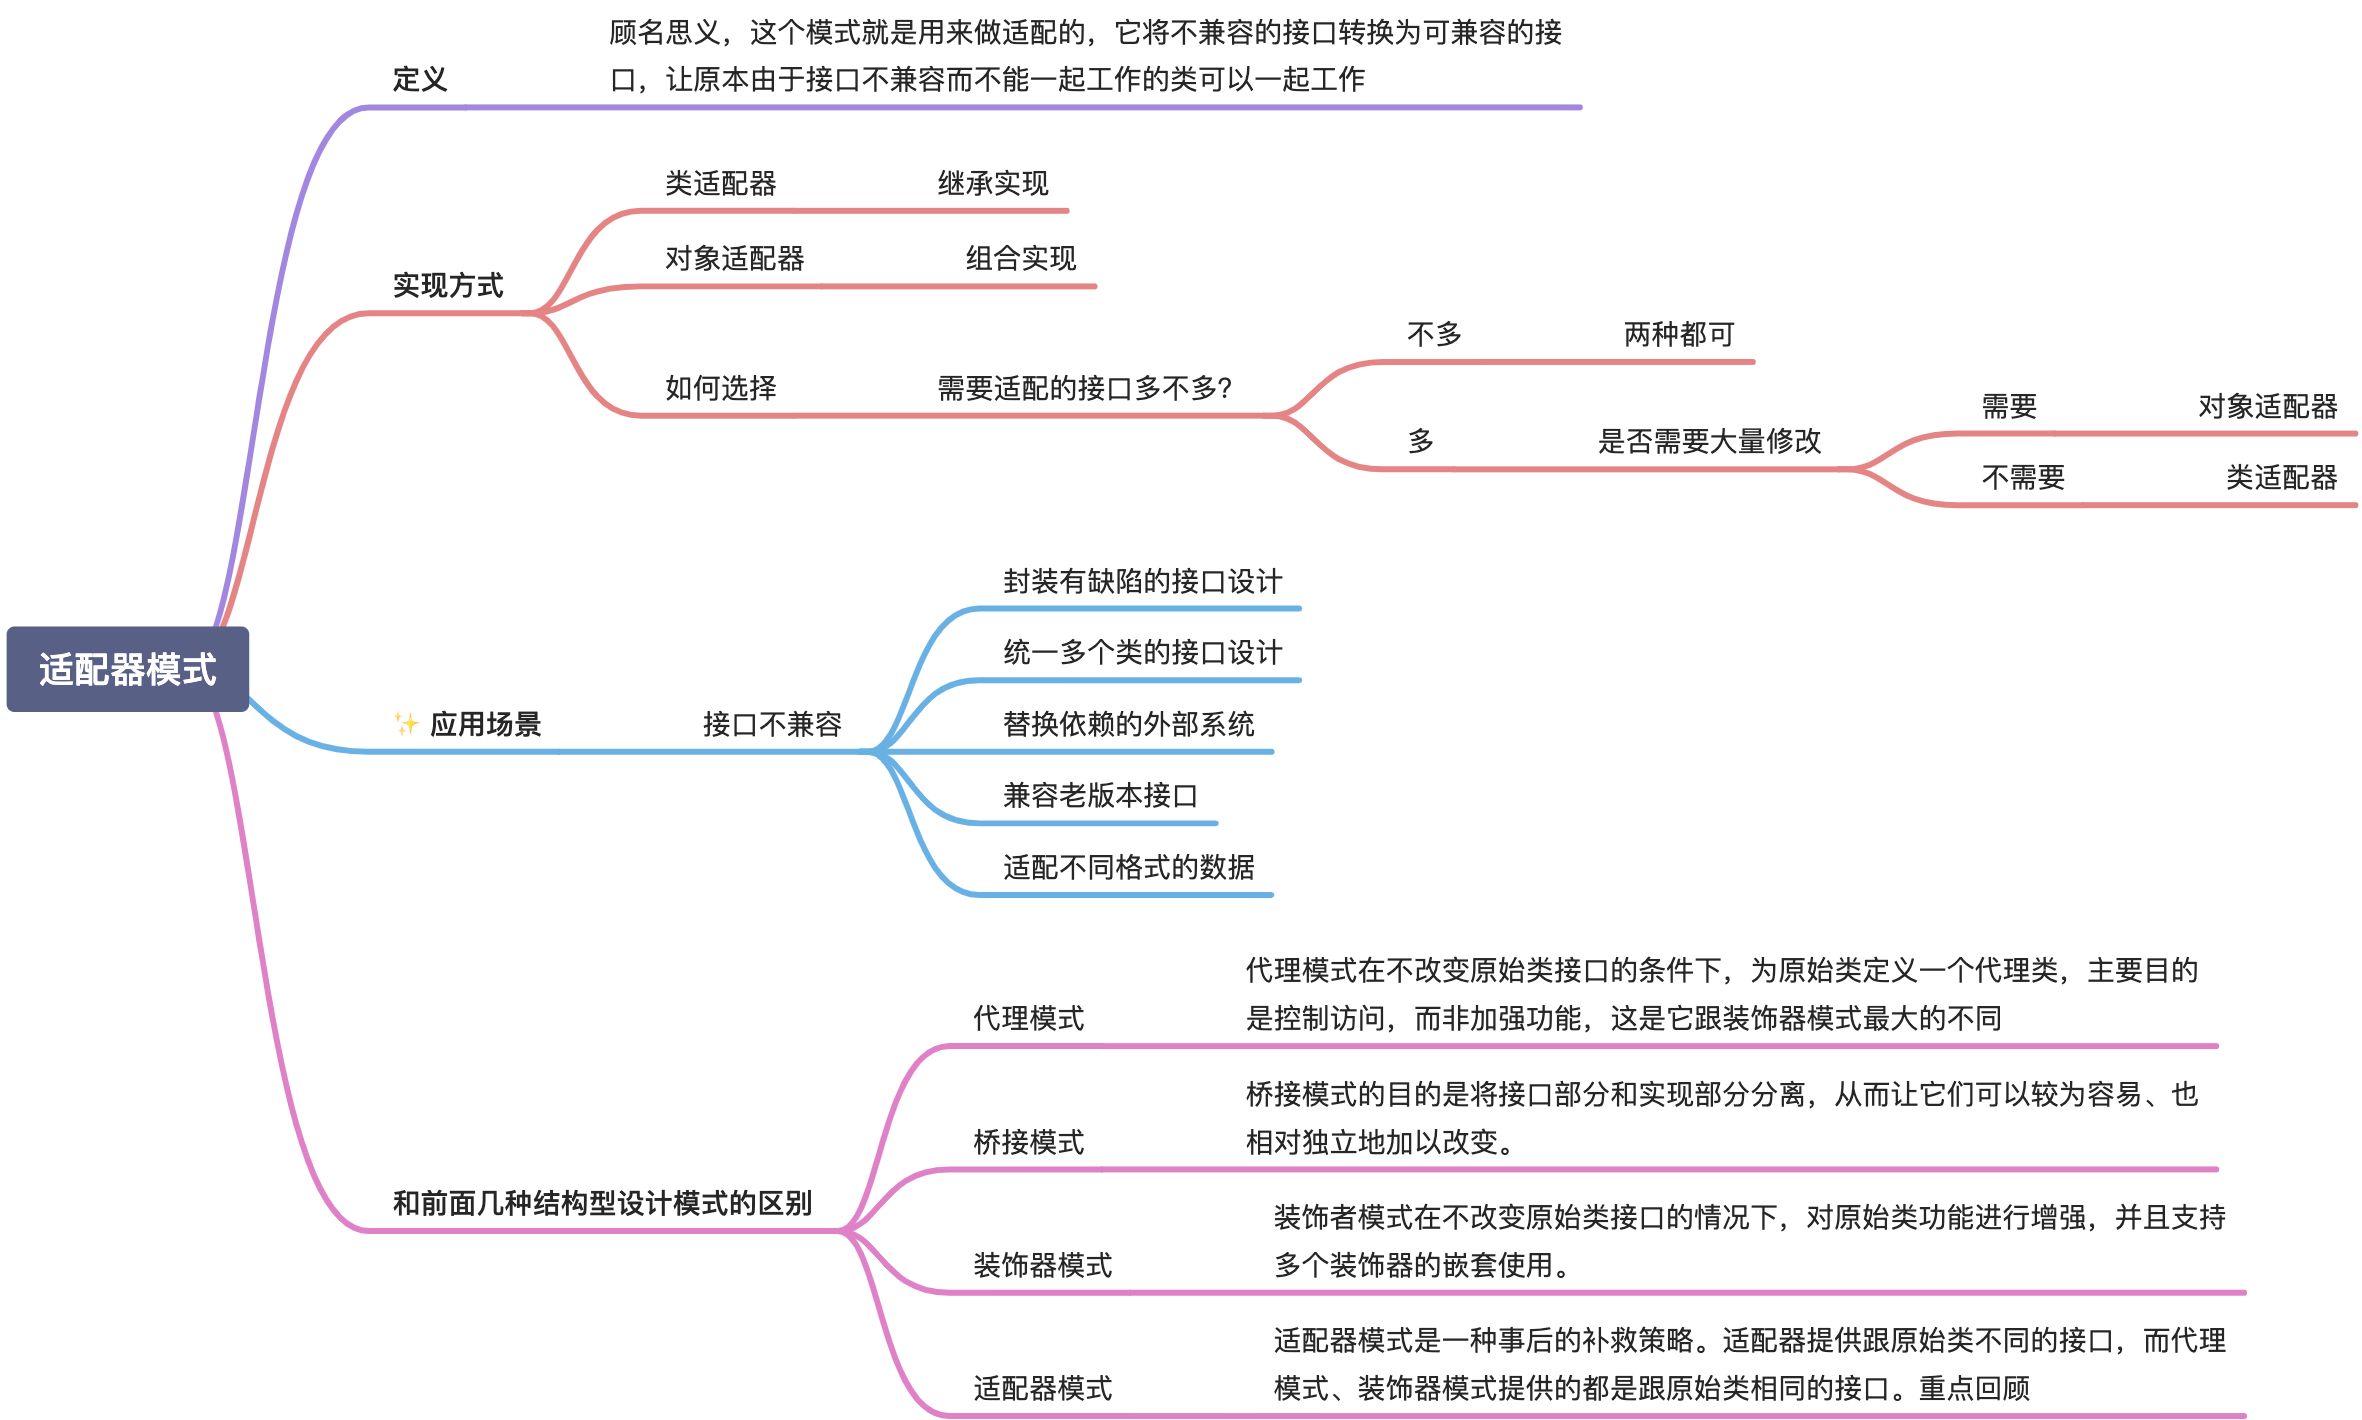
Go设计模式09-适配器模式
序
- Go 设计模式实现,包含常见的设计模式实现,同时这也是 极客时间-设计模式之美 的笔记,源课程采用 Java 实现,本系列会采用 Go 实现
- 课程: 51 | 适配器模式:代理、适配器、桥接、装饰,这四个模式有何区别?
- 本文代码仓库: https://github.com/mohuishou/go-design-pattern 🌟🌟🌟🌟🌟
- RoadMap: 09/22 持续更新中,预计一周更新 2 ~ 3 种设计模式,预计到 202010 月底前更新完成
- 获取更新: Github、知乎、RSS、开发者头条**
笔记
代码实现
假设我现在有一个运维系统,需要分别调用阿里云和 AWS 的 SDK 创建主机,两个 SDK 提供的创建主机的接口不一致,此时就可以通过适配器模式,将两个接口统一。
PS:AWS 和 阿里云的接口纯属虚构,没有直接用原始的 SDK,只是举个例子
Code
package adapter
import "fmt"
// ICreateServer 创建云主机
type ICreateServer interface {
CreateServer(cpu, mem float64) error
}
// AWSClient aws sdk
type AWSClient struct{}
// RunInstance 启动实例
func (c *AWSClient) RunInstance(cpu, mem float64) error {
fmt.Printf("aws client run success, cpu: %f, mem: %f", cpu, mem)
return nil
}
// AwsClientAdapter 适配器
type AwsClientAdapter struct {
Client AWSClient
}
// CreateServer 启动实例
func (a *AwsClientAdapter) CreateServer(cpu, mem float64) error {
a.Client.RunInstance(cpu, mem)
return nil
}
// AliyunClient aliyun sdk
type AliyunClient struct{}
// CreateServer 启动实例
func (c *AliyunClient) CreateServer(cpu, mem int) error {
fmt.Printf("aws client run success, cpu: %d, mem: %d", cpu, mem)
return nil
}
// AliyunClientAdapter 适配器
type AliyunClientAdapter struct {
Client AliyunClient
}
// CreateServer 启动实例
func (a *AliyunClientAdapter) CreateServer(cpu, mem float64) error {
a.Client.CreateServer(int(cpu), int(mem))
return nil
}
单元测试
package adapter
import (
"testing"
)
func TestAliyunClientAdapter_CreateServer(t *testing.T) {
// 确保 adapter 实现了目标接口
var a ICreateServer = &AliyunClientAdapter{
Client: AliyunClient{},
}
a.CreateServer(1.0, 2.0)
}
func TestAwsClientAdapter_CreateServer(t *testing.T) {
// 确保 adapter 实现了目标接口
var a ICreateServer = &AwsClientAdapter{
Client: AWSClient{},
}
a.CreateServer(1.0, 2.0)
}
本博客所有文章除特别声明外,均采用 CC BY-SA 4.0 协议 ,转载请注明出处!